The Strawberry Blonds Cottage

The Strawberry Blonds Cottage

Tuesday, November 15, 2011

DIY photo canvas

Let me first start by saying, I totally wish I had come up with this Idea!  I found it over at Life as a Thrifter blog.  I have been talking about redoing my laundry room for  FOREVER now! That project is on hold till I decide on a color. But in the mean time, I found this at her blog. And knew I had to have it! Here's the picture of her Laundry room.

Awesome right? http://lifeasathrifter.blogspot.com/2011/10/diy-laundry-room-display.html


And here's how I did it!

Vintage Hangers, pictures, brush, canvas and Mod Podge
You will need Mod Podge, 8x10 flat canvas- you can find these at wal-mart in a three pack, for about 3.50. If not A.C. Moore has them for the same price. I went to Hobby Lobby for them and the were triple the price 9.99! You will also need a wide brush .

Put newspaper or drop cloth under project
 Start by putting a coat of Mod Podge on the canvas, then place your picture on to it, with picture facing you and back of picture on top of canvas.
Canvas will dry clear
 Put a layer of Mod Podge over your picture. It will look milky and white, but it will dry clear in about 20-30 minitues.
Brush strokes will give it that canvas look
 The brush strokes will give it a canvas look!

Finished project!
 Finished product!
one more to do!
I have one more to do. Some how the photo did not print out right and I didn't notice till I got home..boo
Ohh, well It's easy to fix!

Friday, November 11, 2011

Trick or Treats

Well I am a little behind on my posts, but it's been crazy here at the cottage! Sick kids and Holiday madness! I love Halloween,  ( lets face it I love all holidays).  My two guys were so cute this year! My oldest was a vampire and my little guy was a chick magnet.

Our Vampire


Our Chick Magnet


At this point he is so sleepy!

Treats at home

Trick or treating downtown

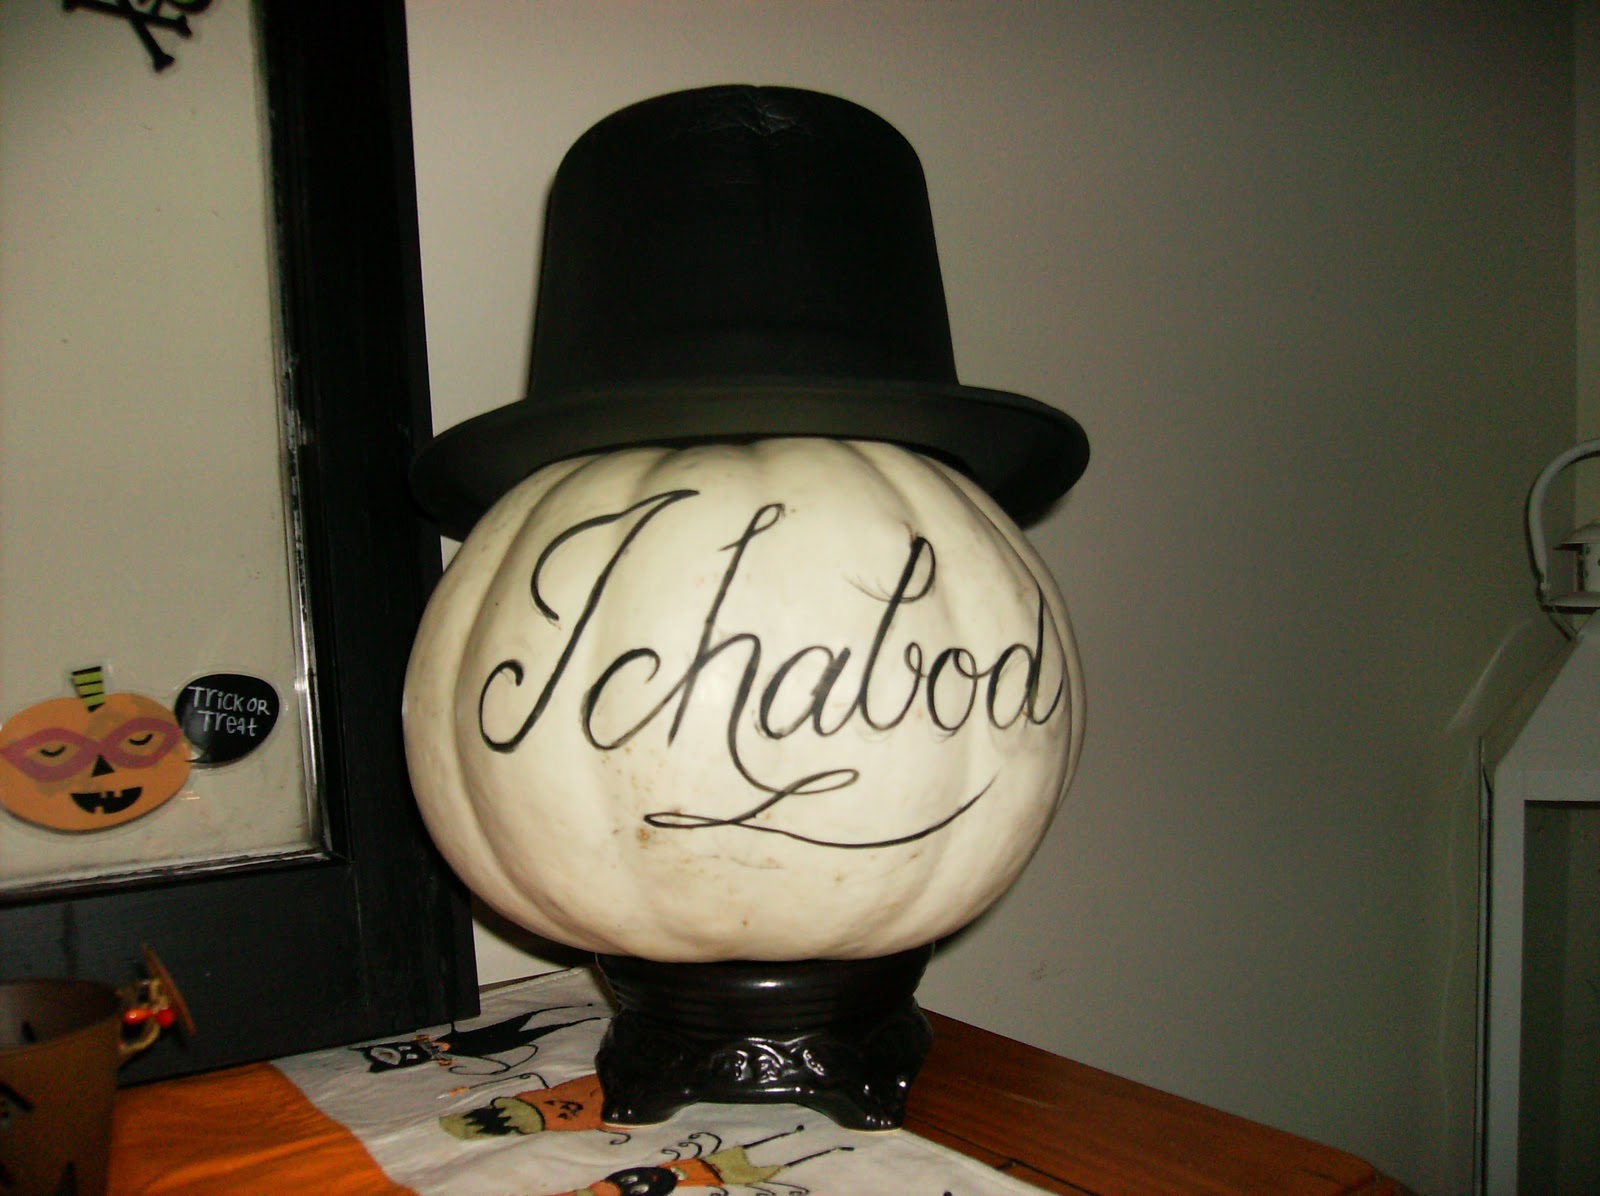
So this is where the horseman's head went!

old window, black paint and stick on's

Peanut butter cereal treats!

Hope you all had a great Halloween!

Saturday, October 22, 2011

The 8.45 Moss Initial

I have seen these moss initials in all of catalogs. But I was not willing to pay the price they wanted for them.  So, off to Hobby Lobby I went, This is what I came back with.

The letter and moss was 50% off!  Hobby Lobby does this pretty much every week
Gold initial letter
Flat sheet moss
One wreath hanger
Plus you will need a glue gun and scissors


Cut sheet moss to fit, then glue down


Hang or Display!

Total 8.45  , the wreath hanger was 2.47 for a total of 10.95!
Pottery Barn moss letter 79.00!! savings 70.55 ( that does not include shipping)

Thursday, October 6, 2011

No Sew Ottoman redo

I found a really great rocking ottoman at the Will  aka (the goodwill) a couple weeks ago. But the color had to go. Like I always say, nothing paint or material can't fix!


Before 7.99 at the will


- Some supply's Material ( your choice) staple gun, screw driver, and a Husband to do the hard work...lol

supplys


- make sure the piece you pick comes apart
some work

- This piece only took a screw driver

some stapling

- Material on, pulled tight...and a couple staples later

done
- Screw it back on

with or without lace?


- Finished without lace
with of course!
- With lace, just use a hot glue gun!

- No sewing , got to love that! oxoxox

Monday, October 3, 2011

MR & MRS

Where else would you announce MR. & MRS. ! ( other than a Wedding) ..lol.  I have been looking for something to put in the space above our bed for sometime, but nothing seemed to work. Then I came across a picture on Pinterest. And BAM! SLAM!  SHAZAM!  A husband and a little work later....haha, and there you go!


-Start with some letters found at the Hobby Lobby

- The Gold has to go
- Paint them the color of your choice
- I used the left over chalkboard Paint ( What? it was black and free) so it worked just fine..lol

- And a blue to match the bedding on our Duvet (1.00 on clearance at K-mart)

- Paint and Nails and there you go

Love it!
You can find the original Idea at http://adiamondinthestuff.blogspot.com/2011/06/mr-mrs-picking-sides.html    I love pinterest!

Have a great day!   oxoxo

Monday, September 26, 2011

Homemade Ice cream in a baggie? In 5 min!!!

It's been raining here for DAYS!!!!!!. Friday night is our family pizza/movie night. however we decided to forgo the movie that night, and play a game or do a project. I had been saving this project for a rainy day, and well it was rainy! First we read a book and then off to the kitchen we went. I didn't tell them what we were doing, just what we needed to do this project. I have to say I was surprised at the out come.  We really made homemade ice cream in 5 min! here's how to do it!


Here is what you will need to make homemade ice cream in a baggie:

2 TBL sugar
1 cup half & half (or light cream)
1/2 tsp vanilla extract
1/2 cup coarse salt or table salt
ice
gallon-sized Ziploc bag
pint-sized Ziploc bag


Mix the sugar, half & half and vanilla extract together. Pour into a pint-sized Ziploc baggie. Make sure it seals tightly.


We were out of gallon baggies, so we used a crock pot bag
Now take the gallon-sized Ziploc bag and fill it up halfway with ice and pour the salt over the ice. Now place the cream filled bag into the ice filled bag and seal.


Make sure it is sealed tightly and start shaking. Shake for about 5 minutes (or 8 minutes if you use heavy cream.)


Shake

shake

and shake for 5 mins


Open the gallon-sized bag and check to see if the ice cream is hard, if not keep shaking. Once the ice cream is finished, quickly run the closed pint-sized baggie under cold water to quickly clean the salt off the baggie.


Wow!! ice cream in 5 mins


Open the baggie and pop in a spoon.


yummy!
you can find this in family fun - familyfun.go.com/recipes/homemade-ice-cream-in-a-bag-684806


Hope you enjoy it!  Have fun....oxoxox

Thursday, September 22, 2011

Crock pots and Pork chops

- My Crock Pot took a dirt nap!! Well I am not surprised, I had  it for 15 years! and before that it was my Mom's. So I would say it had a long life.  But, the good news is,  I got myself a new one.  If your in the market for one and You have a Aldi , get in the car now!!!! and go go go! they have them for 19.99!!! CrAzY !!!!  Crazy good that is. Here's a picture of my pretty new baby!

7 Quart and a 2 year warranty...


easy clean up


-I love that you can remove it from it's base to put in the dish washer! I know, I know, these have been around for quite sometime, but my old one did not do this.....and I am so excited that this one does!  Hey it's the little things in life right?....lol

- I will be breaking it in this Saturday , We are having Ranch house pork chops with parmesan mashed potatoes.

Yummy!


Ranch House Crock Pot Pork Chops with Parmesan Mashed Potatoes
6 pork chops, 1/2 inch thick
1 packet dry Ranch Dressing Seasoning
10 oz can Cream of Chicken Soup
4 lbs peeled, cubed potatoes
5 Tablespoons real butter
1 cup fresh grated Parmesan cheese
6 cloves roasted garlic (directions are below)
1- 1 1/2 Cups warm skim milk (any milk will do, I used skim)
1 Tablespoon salt, or to taste
1 teaspoon fresh cracked black pepper, or to taste
Place pork chops, Ranch seasoning and soup into a medium sized crock pot over high heat for 4 hours or low heat for 6 hours.
Place potatoes into a large pot of cold water. Place onto stove top over high heat and bring to a boil. Once water is boiling, cook for 10-12 minutes or until potatoes are fork tender. Drain and transfer to the work bowl of a stand or electric mixer. Mix on low until potatoes are mashed then add butter, Parmesan, garlic, milk, salt and pepper. Season to taste if needed. For thinner mashed potatoes add more milk, slowly until your desired consistency.
Scoop mashed potatoes onto serving plates and top with pork chops and soup gravy from crock pot. I put a little parsley on top to serve.
Roasted Garlic
Preheat oven to 350 degrees F. Place bulb of garlic with skins on, wrap lightly in tin foil and bake for 1 hour. Remove from foil and let cool for 15 minutes. Remove garlic from skins, place in a bowl and mash with a fork until completely mashed. Set aside. One garlic bulb will have around 12 cloves.

- You can find the recipe for this over at Real Mom Kitchen     click here http://realmomkitchen.com/287/ranch-house-crock-pot-pork-chops-with-parmesan-mashed-potatoes/

-Pork Chops will never be boring again!  After I make this, I 'll let you know, how we liked them!
-Have a great day Sweeties! oxoxo
Wednesday, September 21, 2011

2 Doritos Dinners

Yes that's right! Doritos for dinner!  Who would have thought.  And I have two recipes for them also. So get the kids ready to do some chip crushing!

- start with two of these or your favorite style

I got this first recipe from my friend Melissa, thank you Melissa! This is on monthly dinner rotation in our household now. Yummy!


1 pound of ground beef (you can use more than one pound, if you want)
1 package of taco seasoning mix... ( I only use a tablespoon)
1 tomato cut up
lettuce shreds (you can shred yourself, but we are lazy and buy pre-shredded)
2 cup of shredded cheese (we use the pre-shredded Mexican style)
Catalina Salad Dressing  ( we use half a bottle)
Tortilla Chips, Corn Chips, or Doritos-style chips

Brown  ground beef and drain in a colander, then rinse in water to remove all grease. 
put beef back into skillet and prepare as directed on the taco seasoning mix, with water. 

add to large bowl with lettuce, tomato and cheese. toss. add salad dressing to taste and toss again.
Crush Doritos (kids Job) and add to salad and mix in!


Meal 2: 

Mexican Dorito Casserole 
Serves 4-6

2 c. shredded cooked chicken
1 c. shredded cheese (or more if you are a cheese hound)
1 can cream of chicken soup
1/2 cup milk
1/2 cup sour cream
1 can Ro-tel tomatoes (canned tomatoes with jalepenos-mild)
1/2 packet taco seasoning (or more- to taste)
Bag of doritos

1. Pre-heat oven to 350-f degrees.

2. In a mixing bowl, combine all ingredients except doritos.

3. In a greased 2 qt baking dish, put a layer of crushed doritos (about 2 cups), then a layer of the chicken mixture. Repeat once more, ending with a layer of chicken mixture. Top with more shredded cheese, cover, and bake for 30-35 minutes, till bubbling hot.

Source: Domestic Chicky 

We had this two nights ago! Here is the finished product

Warm cheesy goodness, oh and don't judge me on the snowman potholder!
like you don't use them year round..lol


Tell your kids they are going to have chips for dinner!...hahaha....oxoxo

The Tooth fairy!

The Tooth fairy visited my house last night or early this morning I should say. My oldest lost his first tooth! I tell you they grow up to fast.  He was so excited to put it under his pillow and get a dollar. A dollar I said, who said the tooth fairy leaves a dollar! in my day she left 25 cents maybe 50 cents.  And his reply - that was in the old days mom, she leaves more now.  Got to love kids! So off to bed he went, proud of his little money maker...lol

When he woke this morning the tooth fairy had been here. She left a mess of gold fairy dust on his pillow case and a dollar gold coin under his pillow! Man, that tooth fairy is getting fancy!....lol


our first missing tooth


Wow! a gold dollar, what a fancy fairy!


make it fun,  gold fairy dust and gold coins are more fun then a basic dollar bill!


I just can't believe it!


 a small jar, tooth charm and initial charm is a great way to keepsake their baby teeth


tiny tooth!