The Strawberry Blonds Cottage

The Strawberry Blonds Cottage
Showing posts with label DIY. Show all posts

Saturday, April 14, 2012

DIY photo canvas

I  made a photo canvas today. Total price was 4.00 and some change. I had plenty of mod podge left over from last time and 1 canvas. Here it is~

you can choose any canvas size, photo of choice, mod podge, and a brush

Brush on Mod podge to canvas and back of picture. Than place picture on to canvas. Than brush over picture with Mod podge

Let Picture dry for 30 min. It will look creamy and wet.  But will turn out perfect.

You can choose any size or width of canvas. I chose a 8x10  slim

Wednesday, March 21, 2012

Daffodil's in a blue mason Jar

Here are some beautiful daffodil's I picked yesterday and put in a blue mason jar.


If your wondering about the J. Elaine Photography~ That's my photography name on facebook


You don't have to spend a lot of money to make things look beautiful. I used a old blue mason jar! you could use a coffee cup ~ teacup~ or even a glass. 
Simple beauty

Tuesday, December 13, 2011

Bench re-do

Hello everyone!  I repurposed a old bench that we had sitting beside our wood shed. Here's what I did

Finished Bench-


 It was in need of some TLC!   Step 1. wipe down, dust off and some good old hand sanding


 Step 2. Primer,  I used a grey Primer 2 coats


 Step 3. 2 coats of American red spray paint! I also picked up this handy little handle that makes the spraying so much easier...Yes I was being totally lazy! haha


Finished Product!

Tuesday, November 15, 2011

DIY photo canvas

Let me first start by saying, I totally wish I had come up with this Idea!  I found it over at Life as a Thrifter blog.  I have been talking about redoing my laundry room for  FOREVER now! That project is on hold till I decide on a color. But in the mean time, I found this at her blog. And knew I had to have it! Here's the picture of her Laundry room.

Awesome right? http://lifeasathrifter.blogspot.com/2011/10/diy-laundry-room-display.html


And here's how I did it!

Vintage Hangers, pictures, brush, canvas and Mod Podge
You will need Mod Podge, 8x10 flat canvas- you can find these at wal-mart in a three pack, for about 3.50. If not A.C. Moore has them for the same price. I went to Hobby Lobby for them and the were triple the price 9.99! You will also need a wide brush .

Put newspaper or drop cloth under project
 Start by putting a coat of Mod Podge on the canvas, then place your picture on to it, with picture facing you and back of picture on top of canvas.
Canvas will dry clear
 Put a layer of Mod Podge over your picture. It will look milky and white, but it will dry clear in about 20-30 minitues.
Brush strokes will give it that canvas look
 The brush strokes will give it a canvas look!

Finished project!
 Finished product!
one more to do!
I have one more to do. Some how the photo did not print out right and I didn't notice till I got home..boo
Ohh, well It's easy to fix!

Saturday, October 22, 2011

The 8.45 Moss Initial

I have seen these moss initials in all of catalogs. But I was not willing to pay the price they wanted for them.  So, off to Hobby Lobby I went, This is what I came back with.

The letter and moss was 50% off!  Hobby Lobby does this pretty much every week
Gold initial letter
Flat sheet moss
One wreath hanger
Plus you will need a glue gun and scissors


Cut sheet moss to fit, then glue down


Hang or Display!

Total 8.45  , the wreath hanger was 2.47 for a total of 10.95!
Pottery Barn moss letter 79.00!! savings 70.55 ( that does not include shipping)

Monday, October 3, 2011

MR & MRS

Where else would you announce MR. & MRS. ! ( other than a Wedding) ..lol.  I have been looking for something to put in the space above our bed for sometime, but nothing seemed to work. Then I came across a picture on Pinterest. And BAM! SLAM!  SHAZAM!  A husband and a little work later....haha, and there you go!


-Start with some letters found at the Hobby Lobby

- The Gold has to go
- Paint them the color of your choice
- I used the left over chalkboard Paint ( What? it was black and free) so it worked just fine..lol

- And a blue to match the bedding on our Duvet (1.00 on clearance at K-mart)

- Paint and Nails and there you go

Love it!
You can find the original Idea at http://adiamondinthestuff.blogspot.com/2011/06/mr-mrs-picking-sides.html    I love pinterest!

Have a great day!   oxoxo

Tuesday, September 20, 2011

Money saving Chalk Boards ( another expensive catalog do it yourself)

Hello Everyone, I have another expensive catalog money saving , do it yourself. This will save you tons of money.  And you will have extra paint left over for other projects.

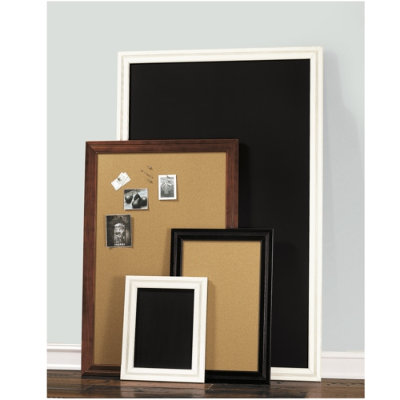
So let's start with the expensive catalog version: These range from 69.00 to 399.99 !!!!!


So the first thing I did was start looking around the goodwill and thrift store for a frame with good bones. You can paint the frame whatever color suits you. My Idea was to paint it white, but after looking at it for awhile I left it alone. However, nothing says I won't go back and do it.  I found this frame at the goodwill. It had a mirror in it with yellow sunflowers painted on it. The cost was 3.99 . I didn't need the mirror, so I went out to my car and popped it out and returned it to the goodwill as a donation. And in return they gave me a 20% coupon for my next purchase. Score! 

Starting project
-You can use any frame that suits you
- If your frame has no backing or you need to pop out a old picture, just paint the wall behind it with roll on chalkboard paint , and hang your picture over it.
Can of chalk
board paint, first time I used it in a can
- Chalkboard paint 3.69

first step


it took two coats of paint

- Let the first coat dry, then add another
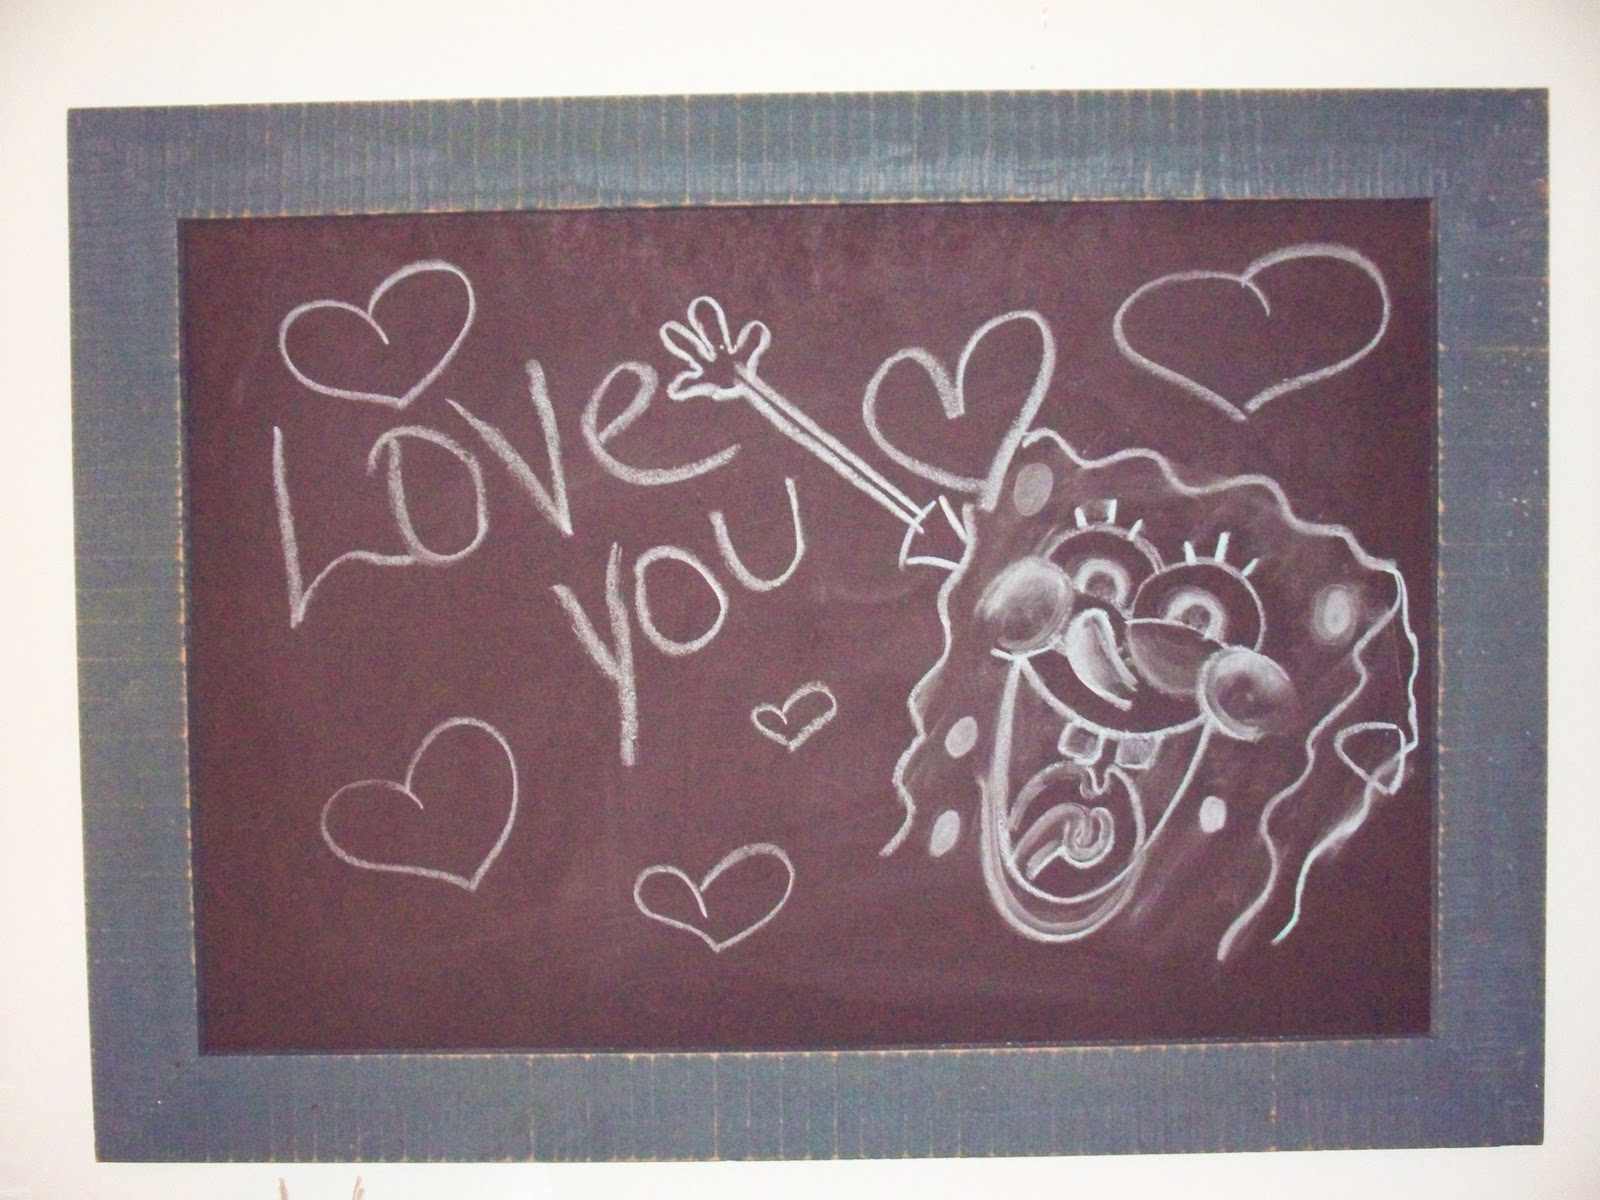
Finished product


In it's place, still wondering if I should paint it white
- Final cost for my project about 7.00......savings from expensive catalog 62.99- 392.99 and that's not counting shipping!


-You will have some left over paint, that you can use for other projects. 
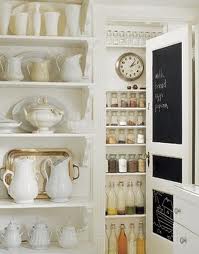
- Here are some ideas


http://www.plaidonline.com/polka-dot-chalkboard-flower-pots/3647/project.htm


This is from http://www.scissorsandspatulas.com


love this


Skys the limit, Have fun oxoxox

Friday, September 9, 2011

Whats Old is New again


Hey There everyone!  I have been moving furniture around my living room.  I felt inspired and the room didn't have that cozy feeling. So a few hours later, and a few garage trips later.. I had made a pretty good dent in it! And, I only used things I had. Here is a picture from one of the walls... I had been wanting to get this up somewhere for awhile.

Old window 

Family Vintage postcards from the early 1900's

My Husbands grandfathers typewriter !
- Coffee table Redo

The teapot I found in the woods..It must have been my Husbands Grandmothers. no one else has lived here. (score)


A old School copy of Pride and Prejudice. A must!

Chalk board Stake ..50 cents! 
_ all stuff I already had....

New Quilt my sister in law made us!

Beautiful
I wish I had a before picture of how it was, I moved all the furniture around and added lots of extra's that I already had. It's very welcoming now....I still need to put something  in the corner with the blue and white rocker. and a redo to the mantel.

Wednesday, July 27, 2011

Chalk it up, the many uses of Chalk Board Paint

Start with this
- I have had an obsession for a few years now. There are so many great ways to use it.  It comes in many colors, brands and you can choose spray or paint can. For me, I like the paint can and I pretty much stay with basic black. You can pick it up at any Wal-mart or Home Depot.

D-This is one of two pots that I painted. 

- Just a quick coat of paint, it dries super fast

Write what you want!
--The kids write I love you Mommy or Daddy on it
-you could put your house number on it
-welcome a visitor 
-give this as  a house warming gift, with herbs in it and the new home owners house number.

out front I have 2
-other uses for chalk board paint
-This is a frame I have had lying around for awhile
- My idea is to put it on a wall with chalk board paint behind it like the picture below!
-The possibilities are endless

I saw some glasses like these for sale at a local home store, the price was crazy! you can do this yourself with some tape ( to use as a outline) and paint. No more markers on plastic cups to keep everyones drinks straight.
cute idea!

love this
- other uses
- picture frames
- I  used it on top of my kids activity table and the back of our garage door.


- Have fun, let me know what you come up with.